


Description
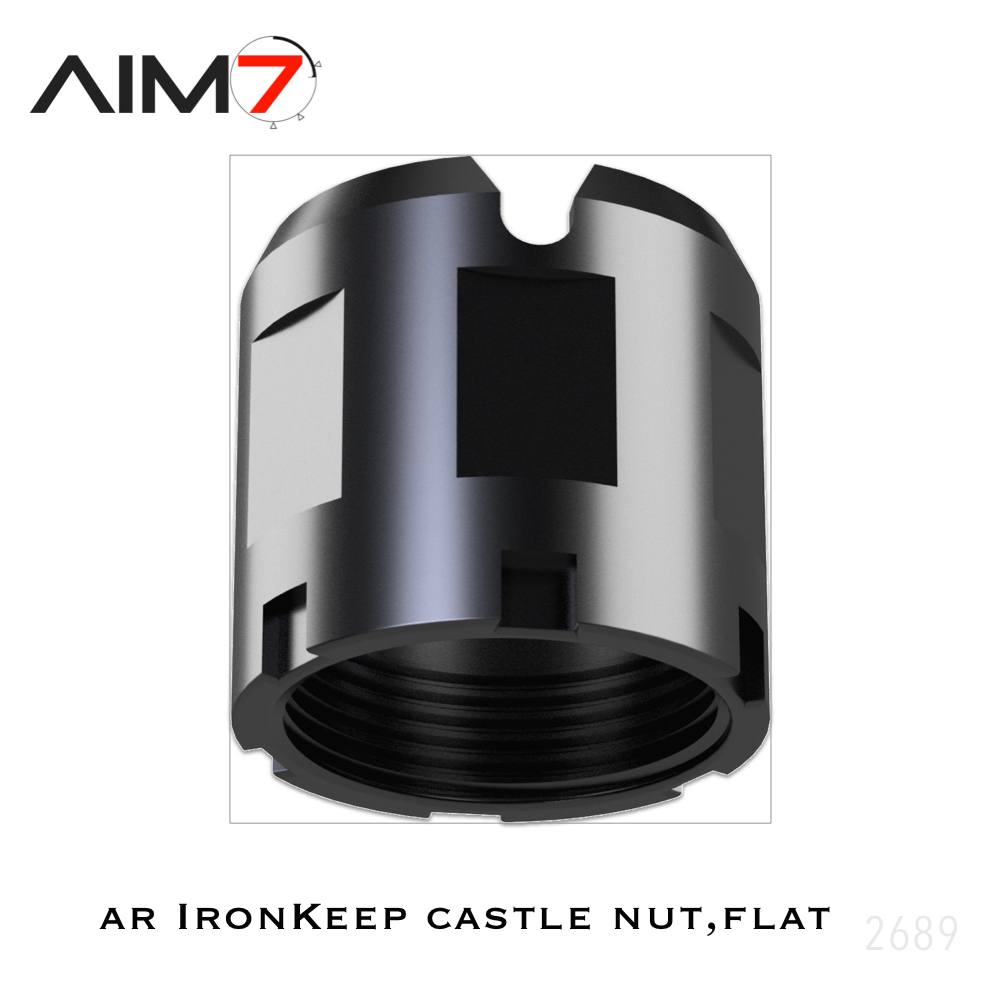
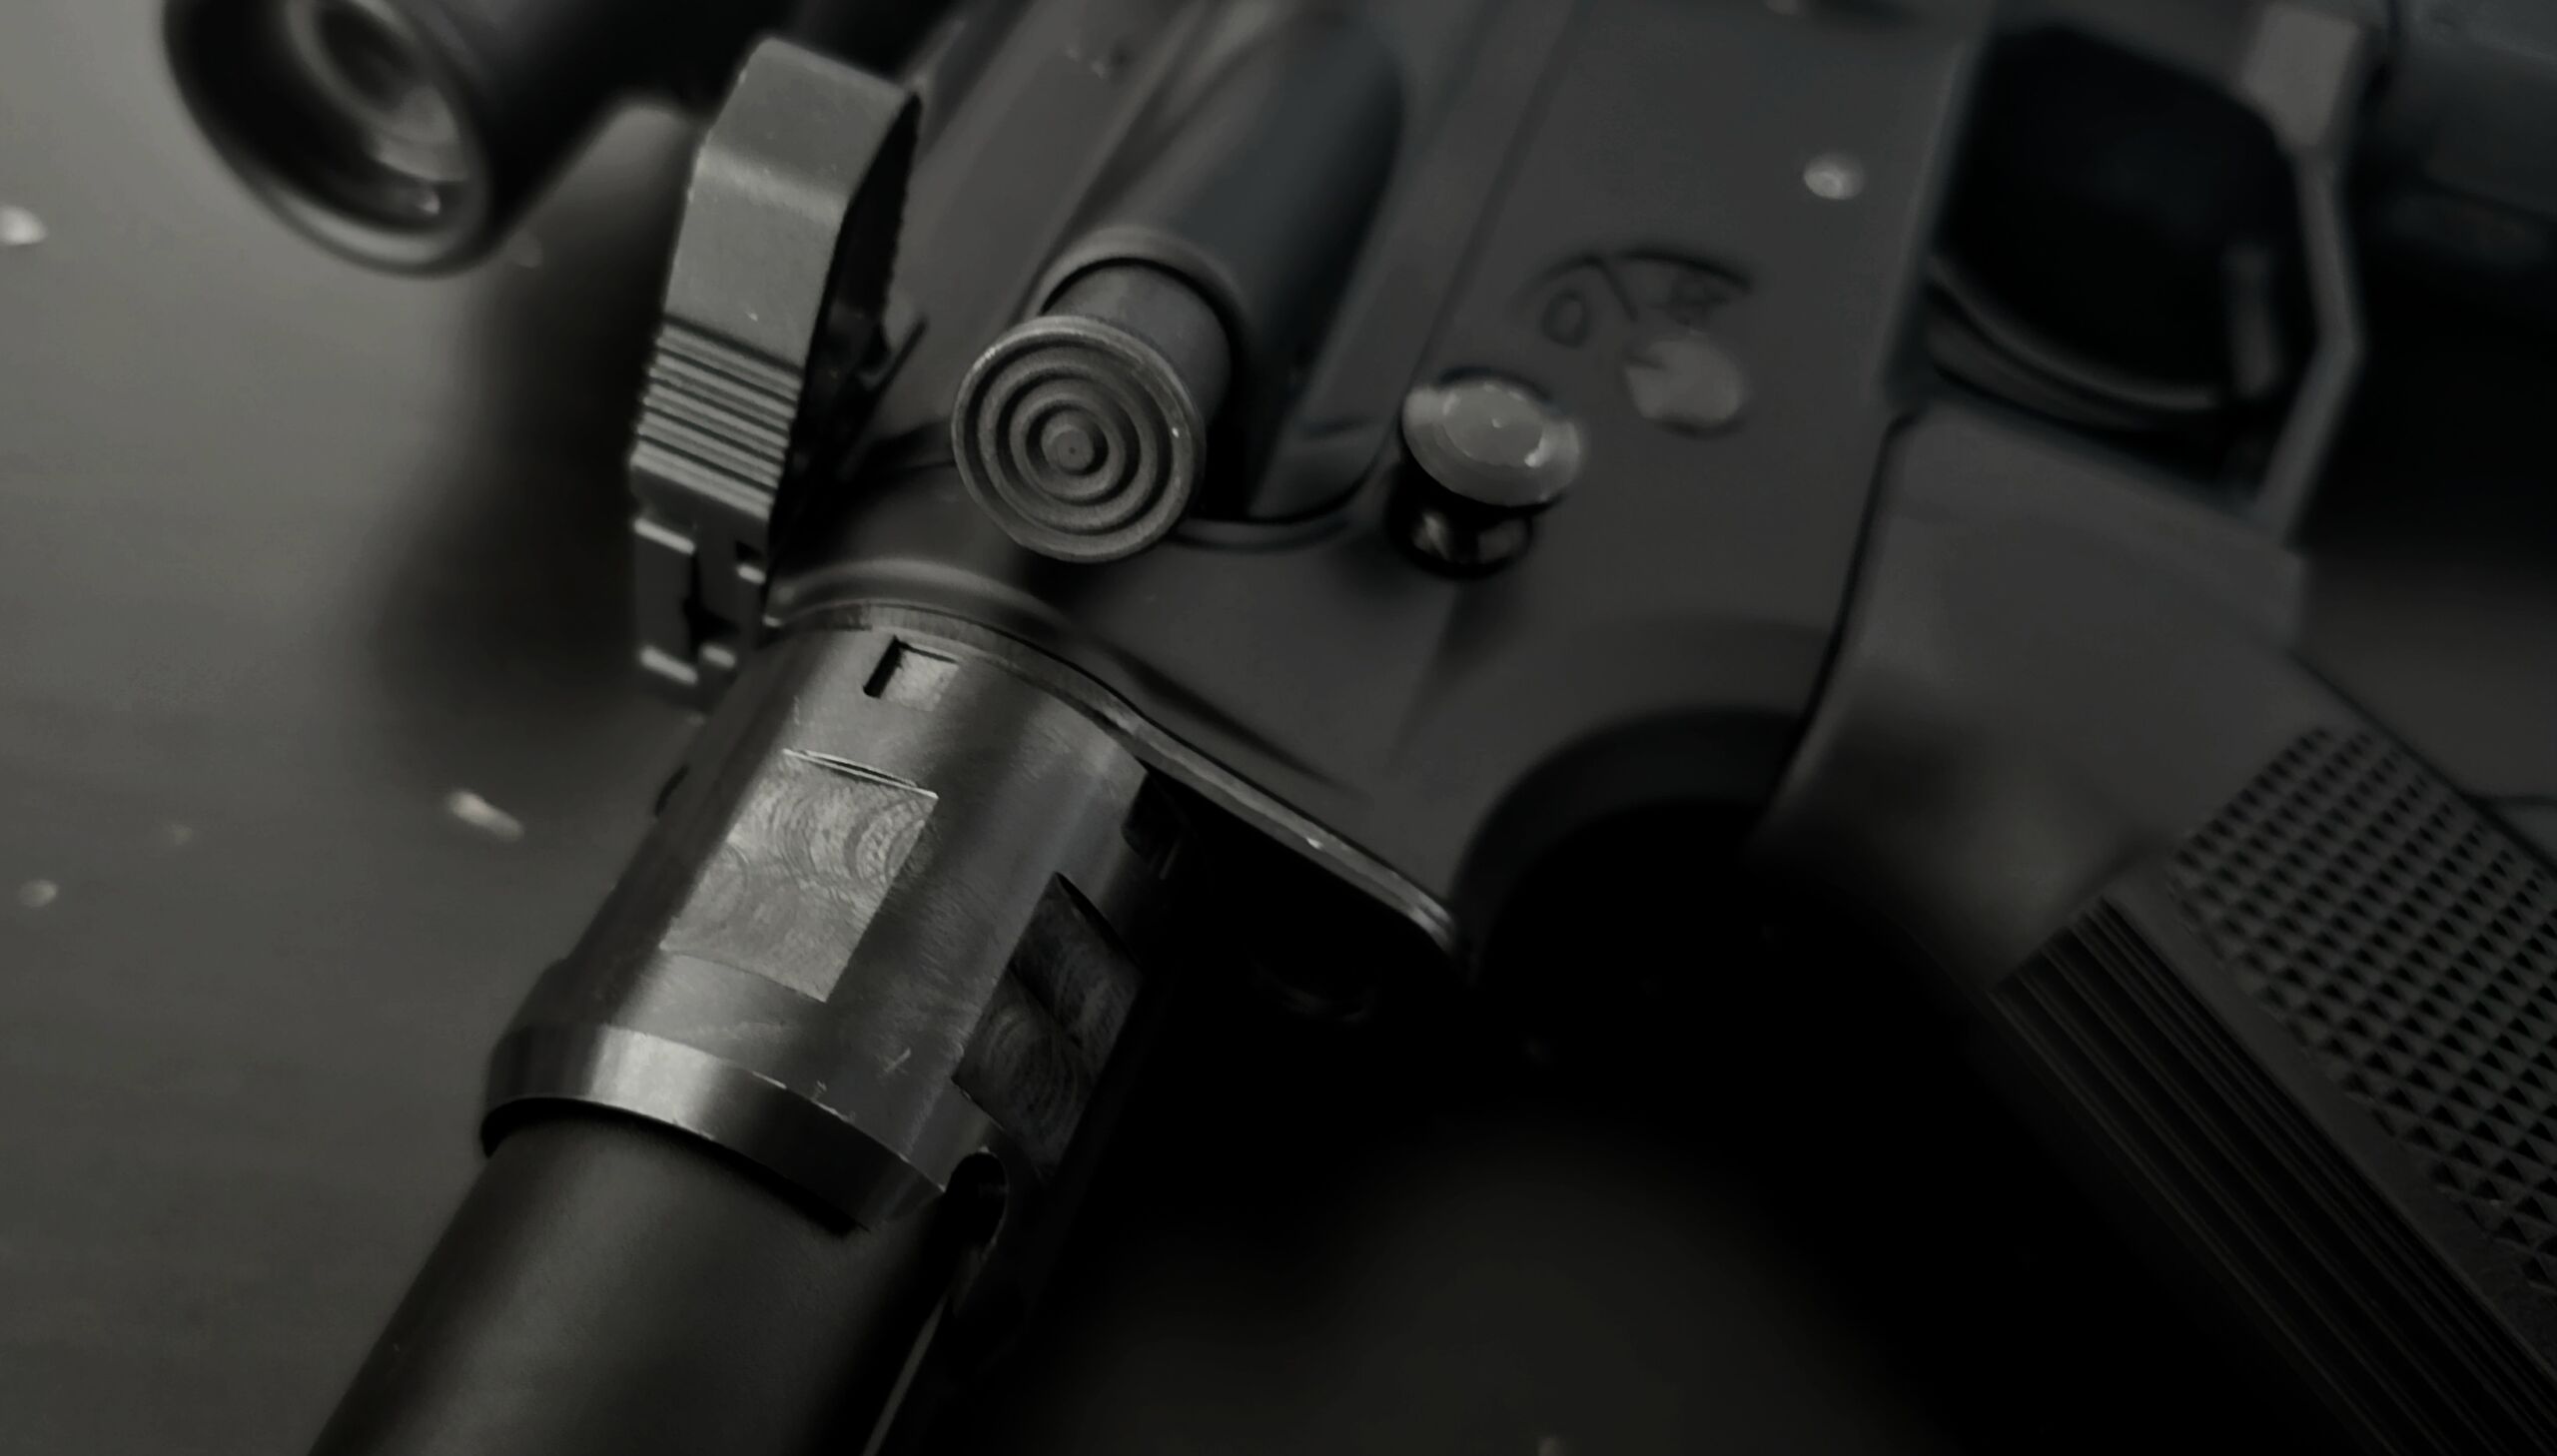
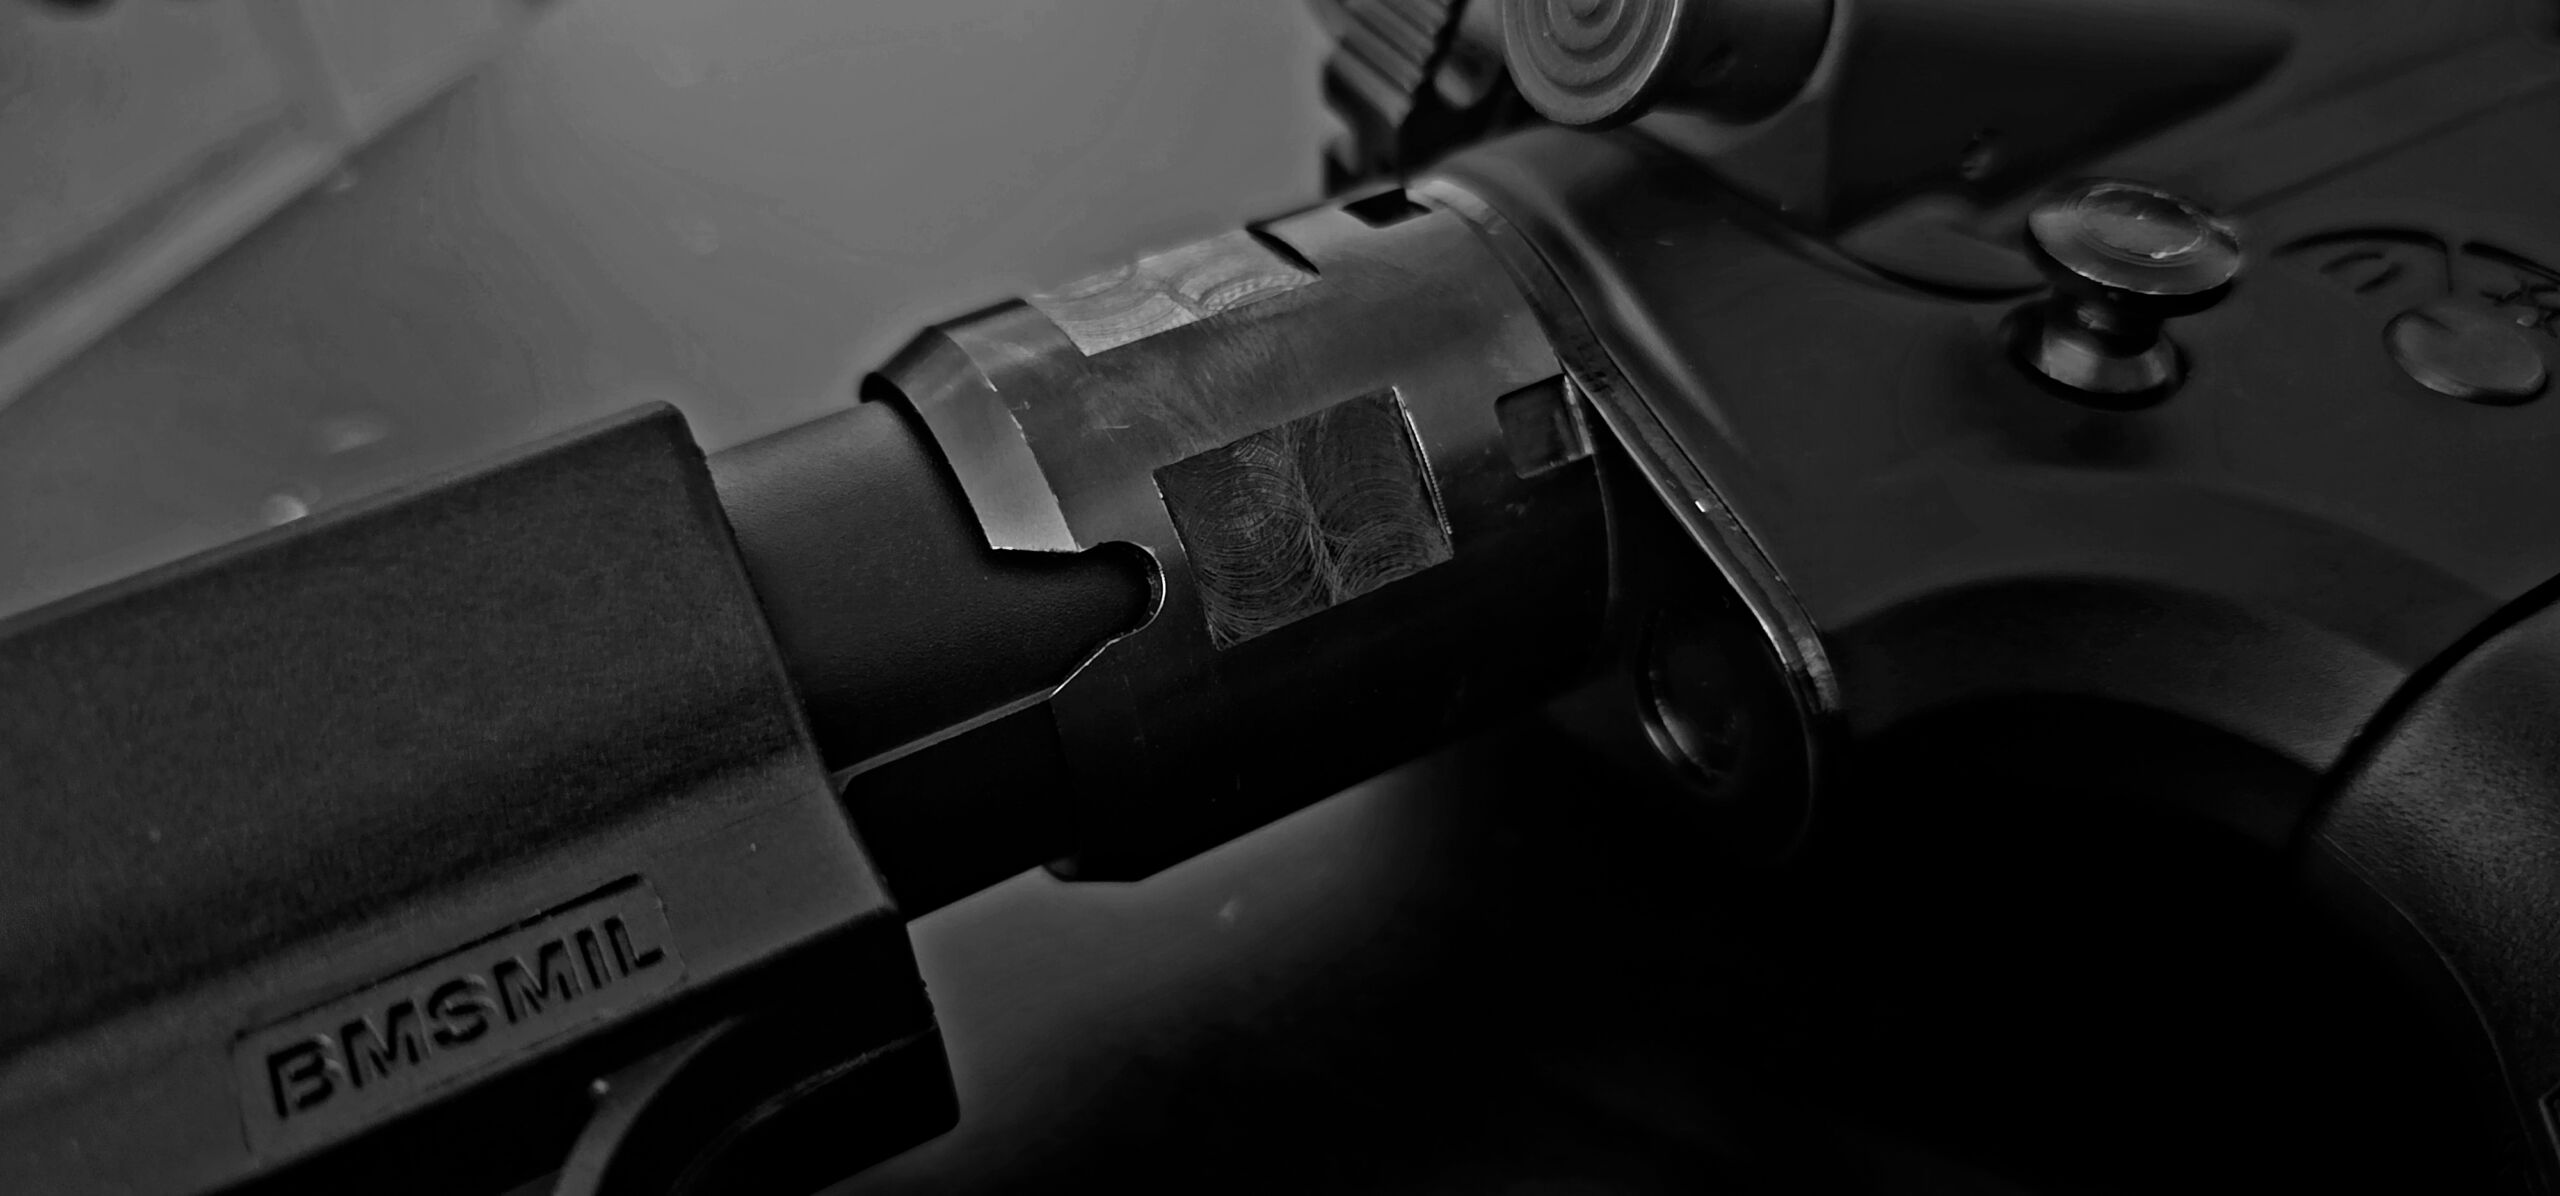
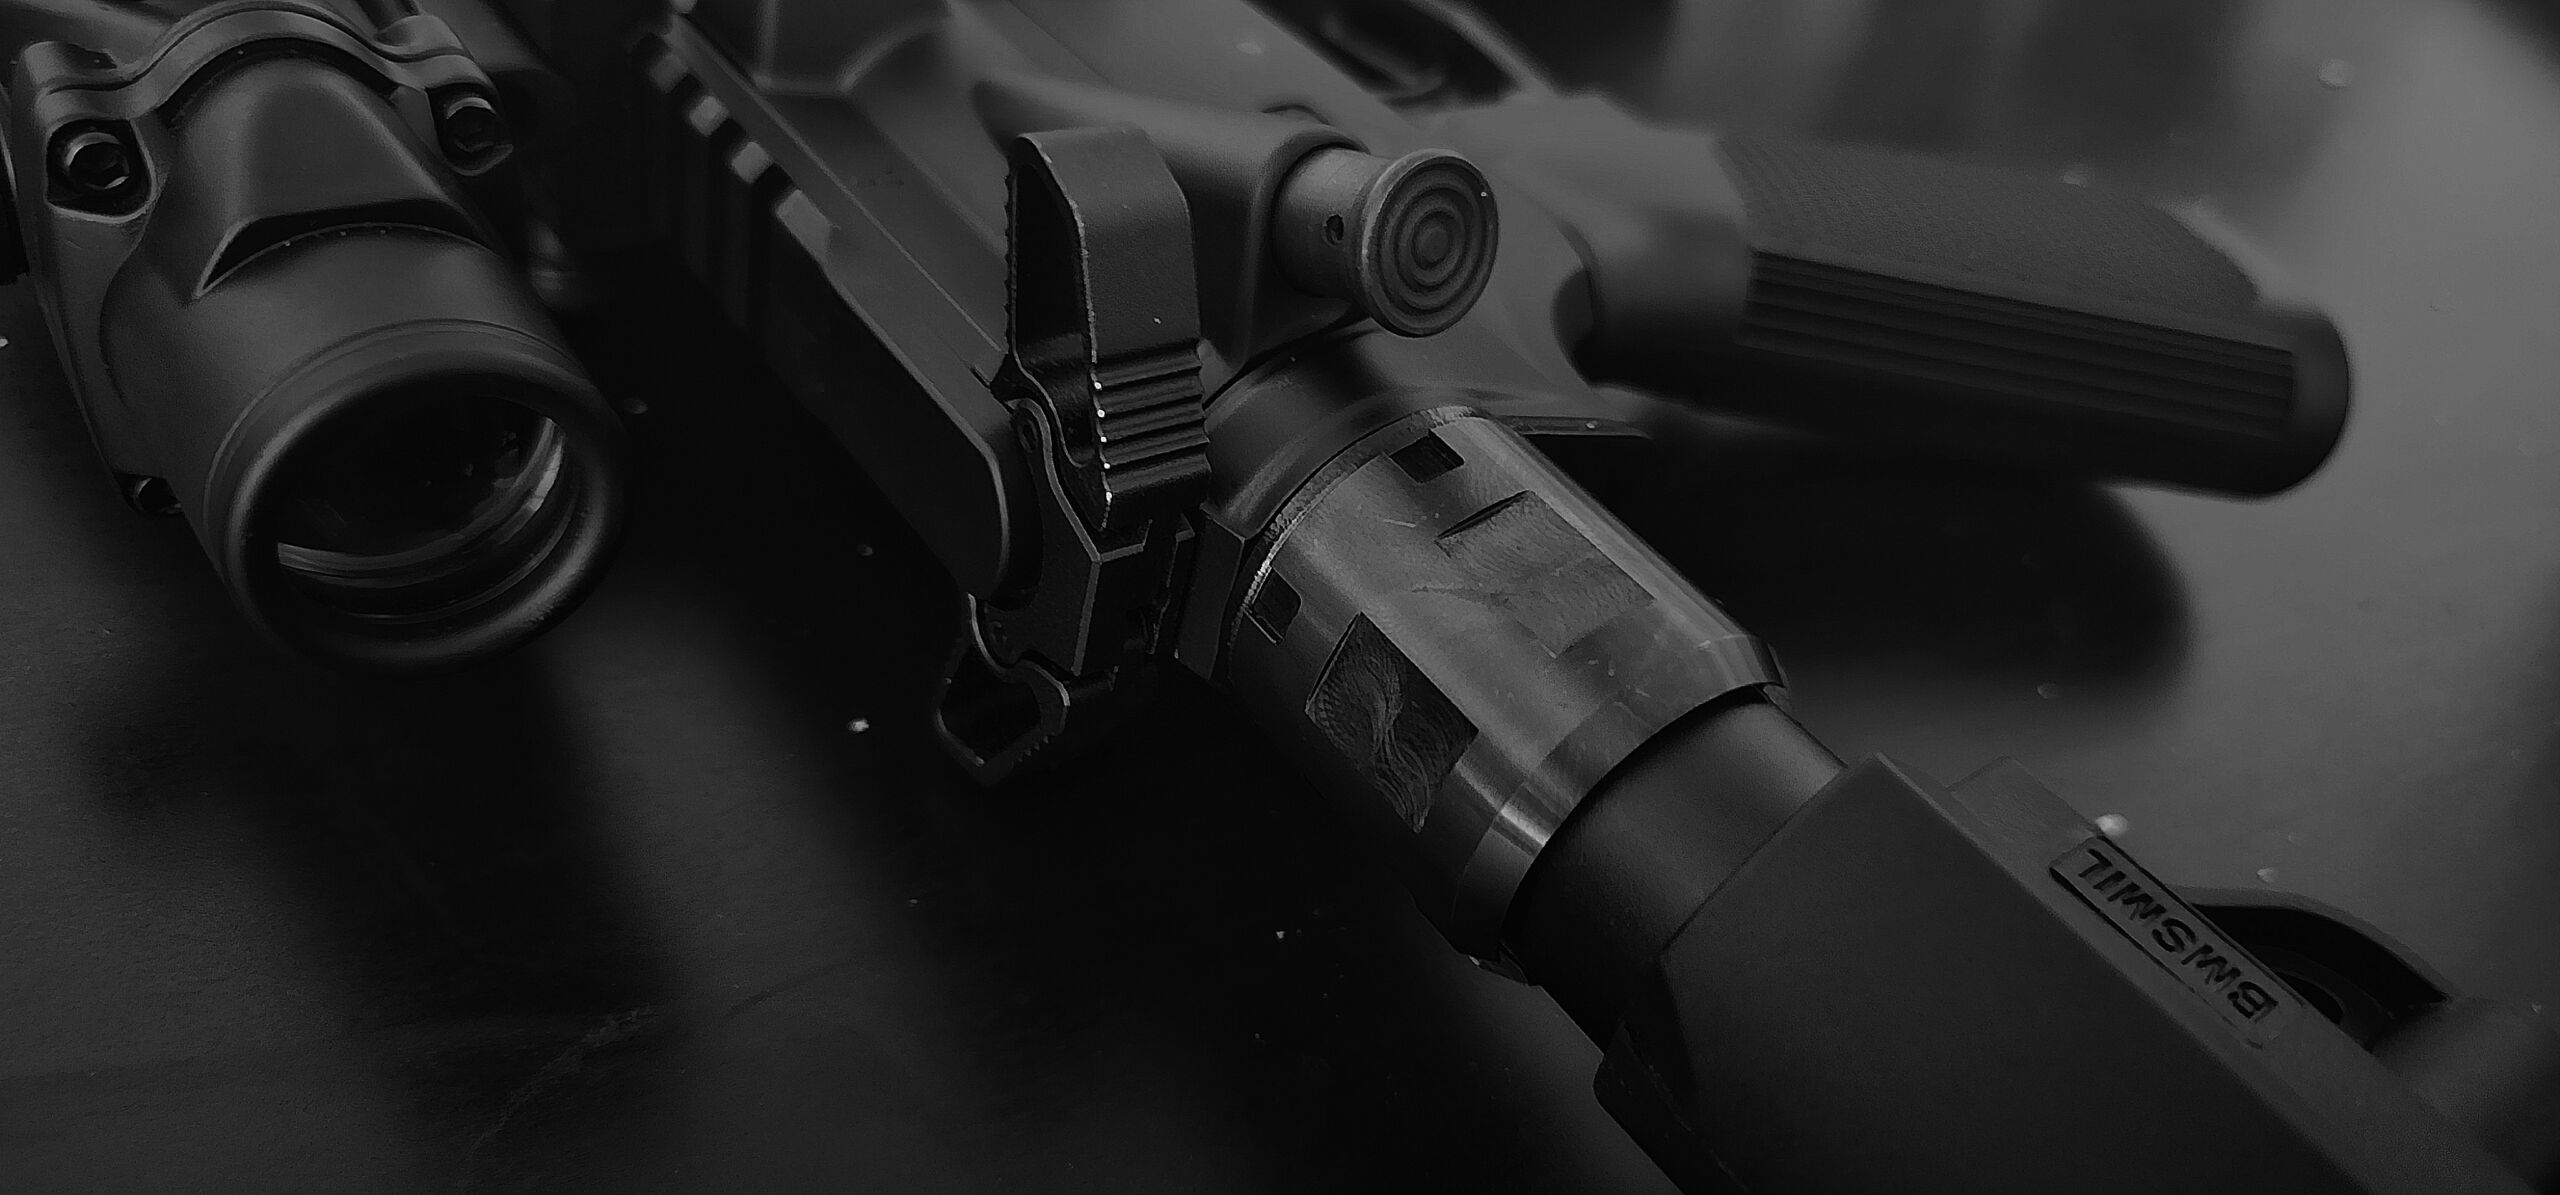
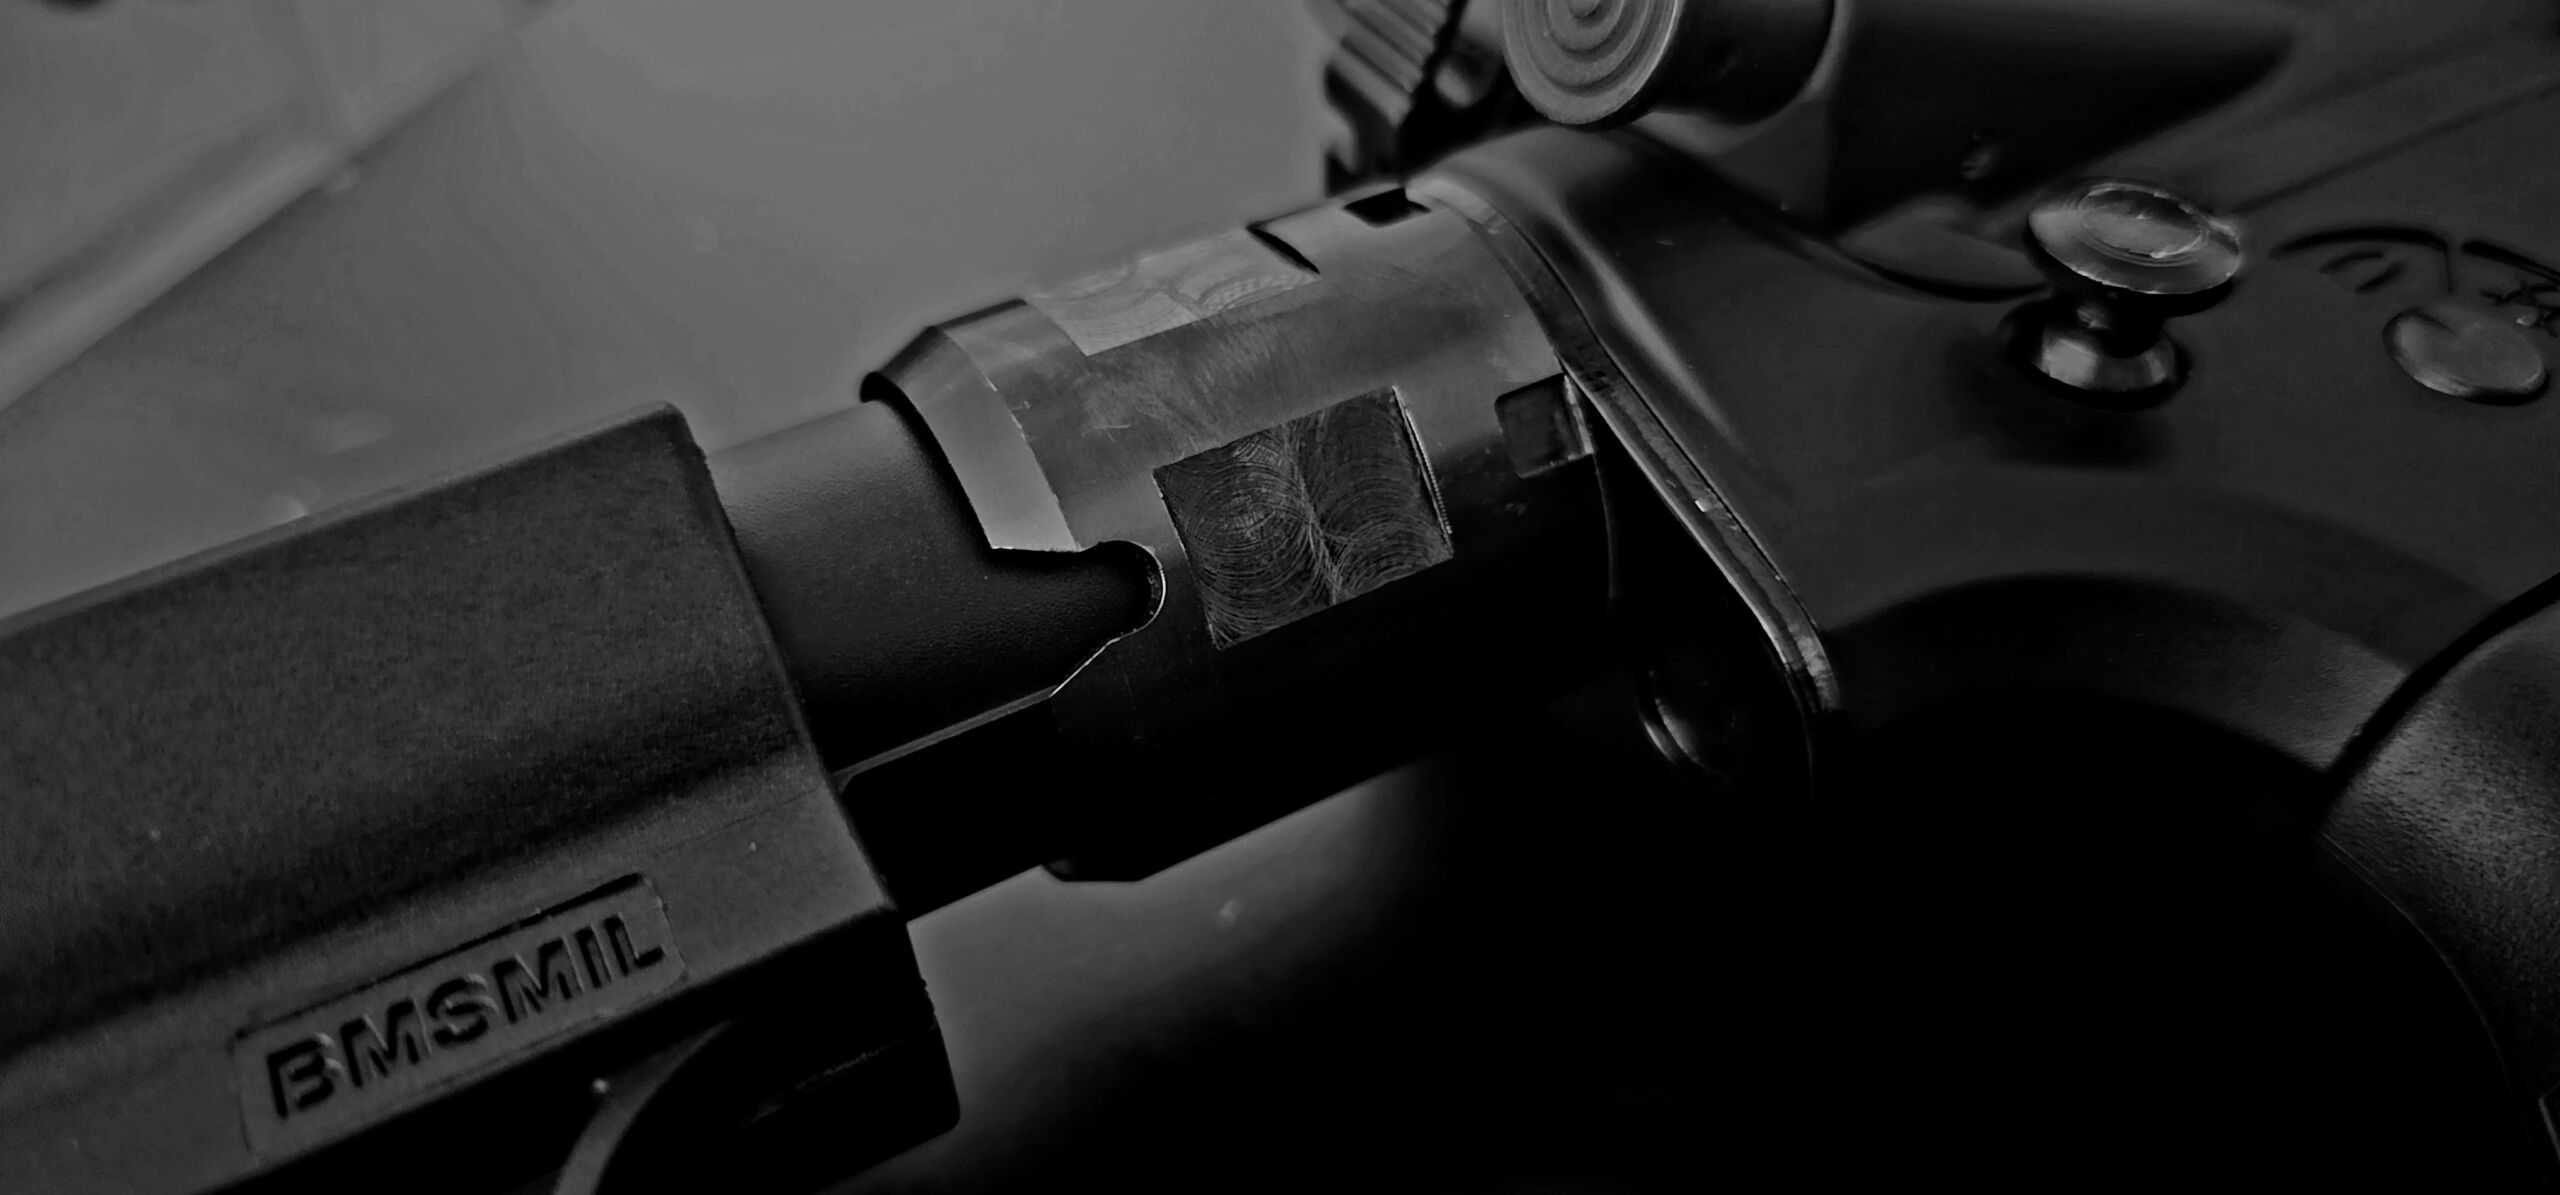
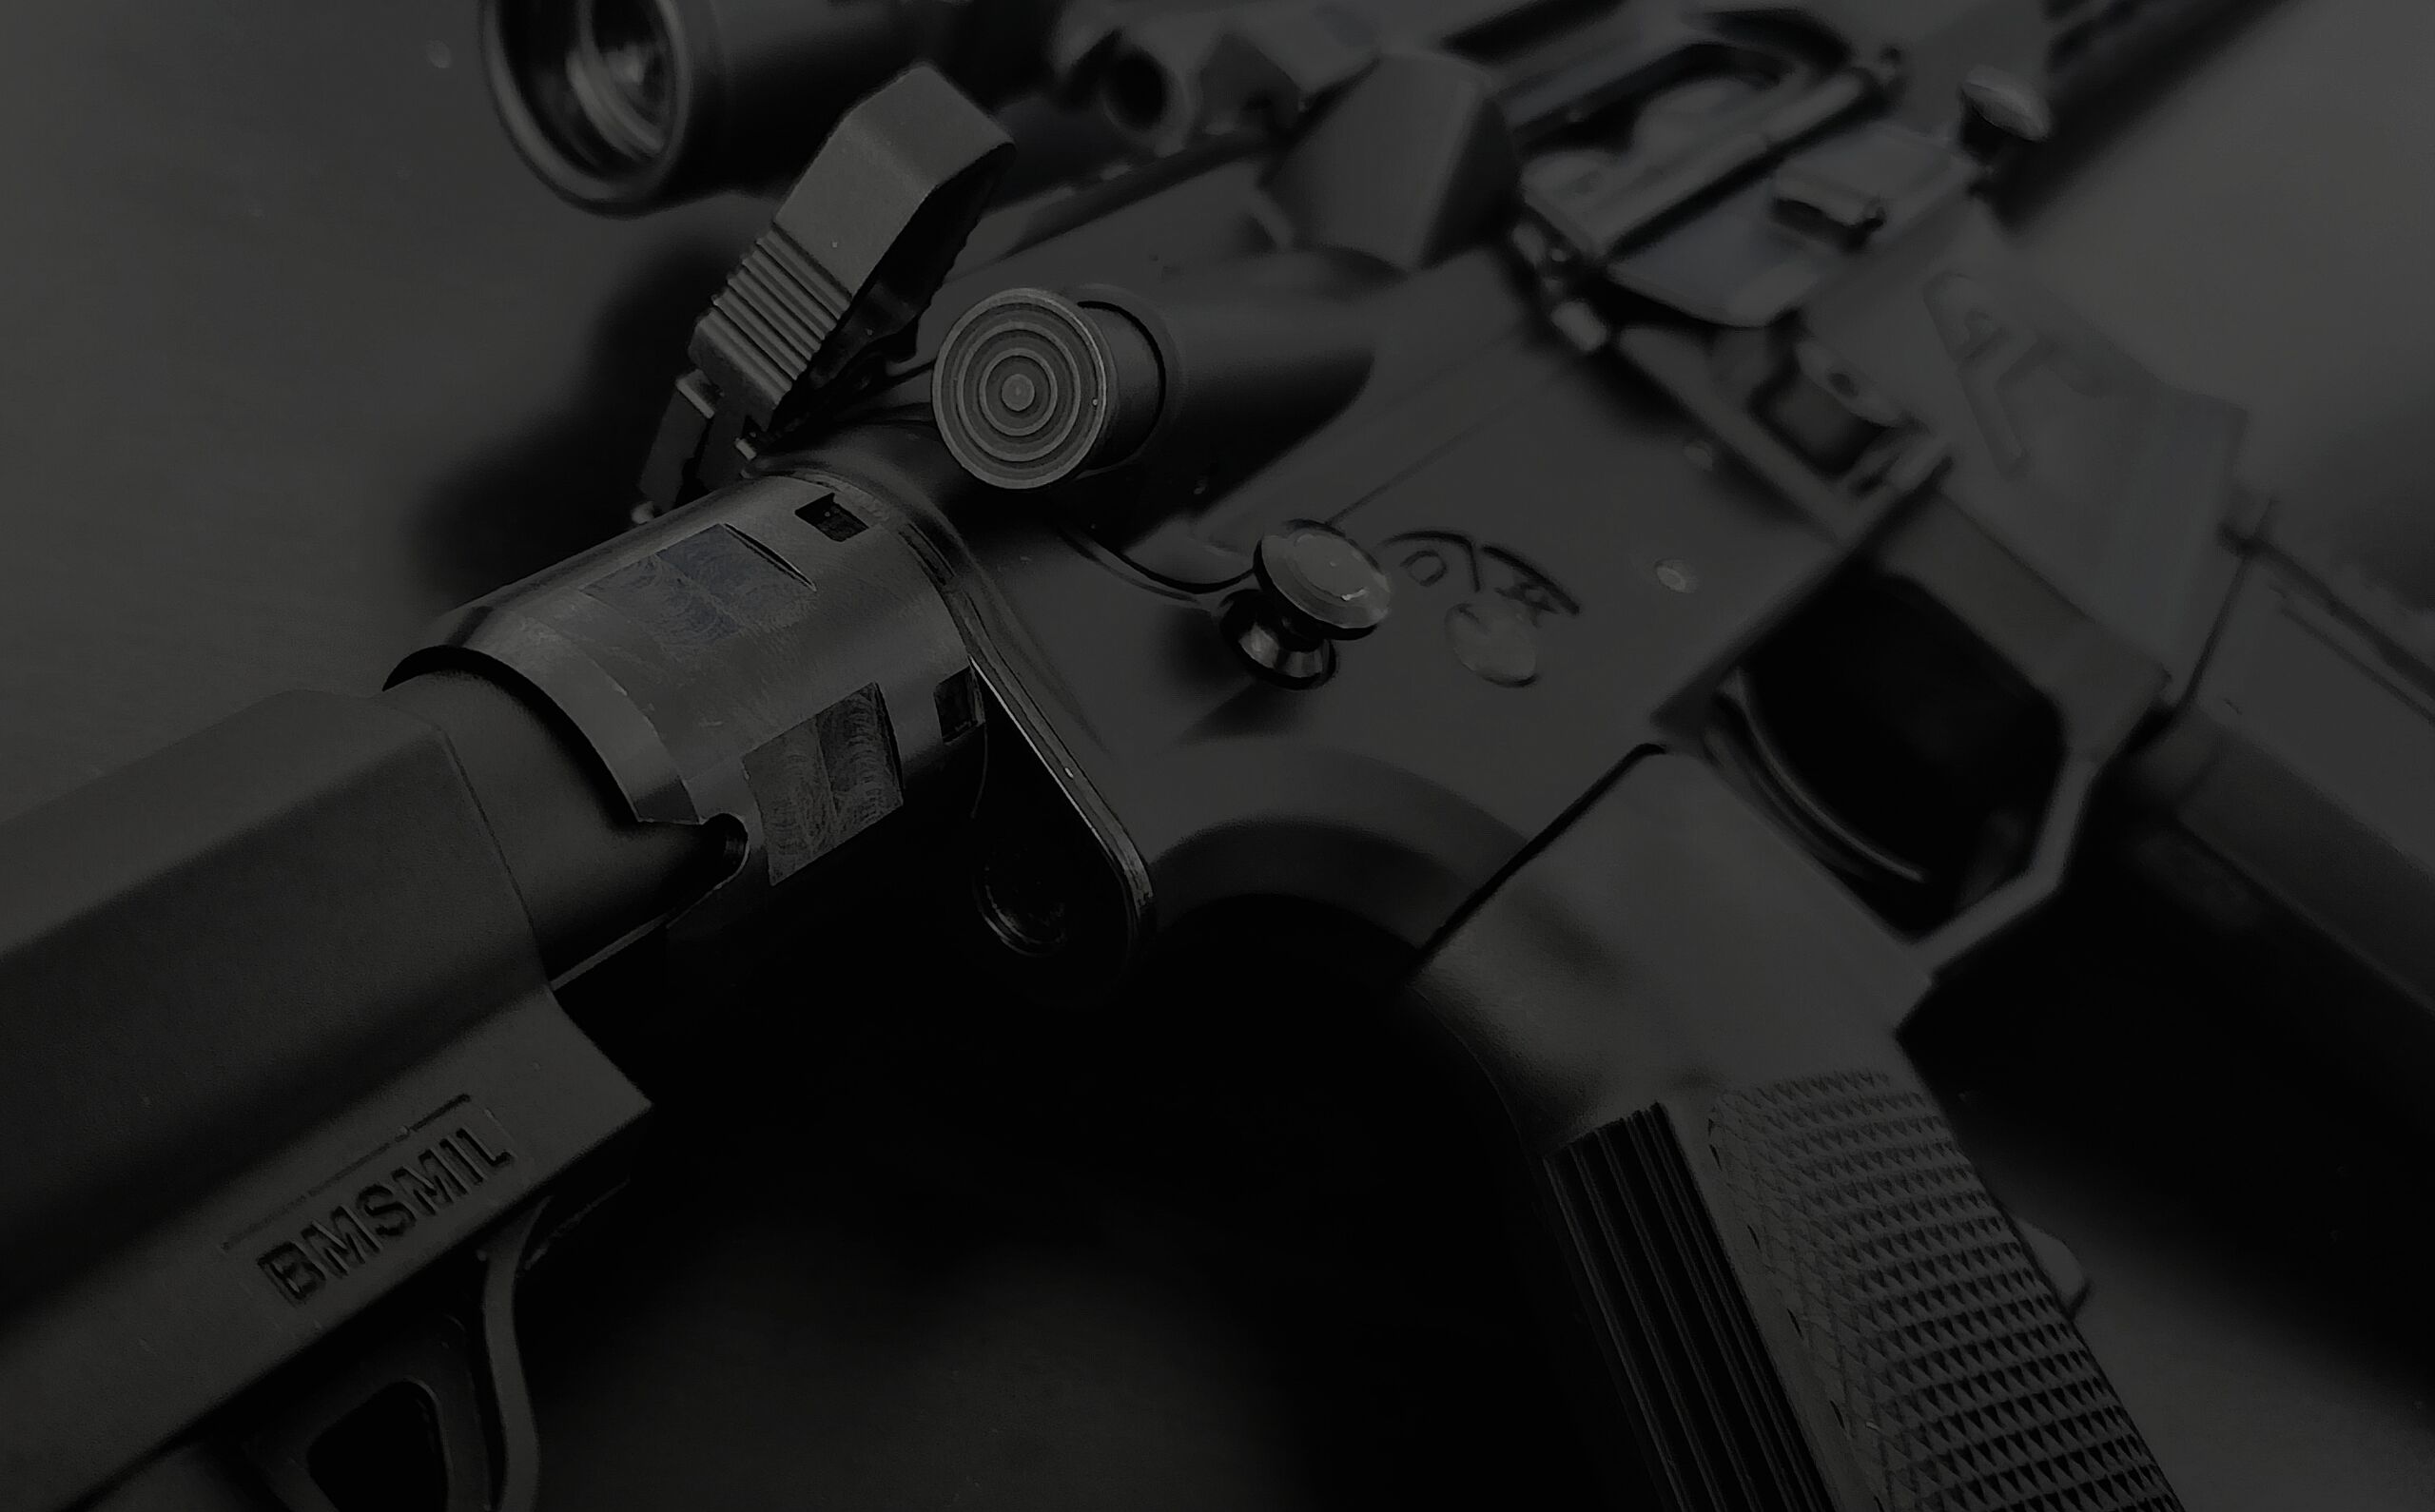
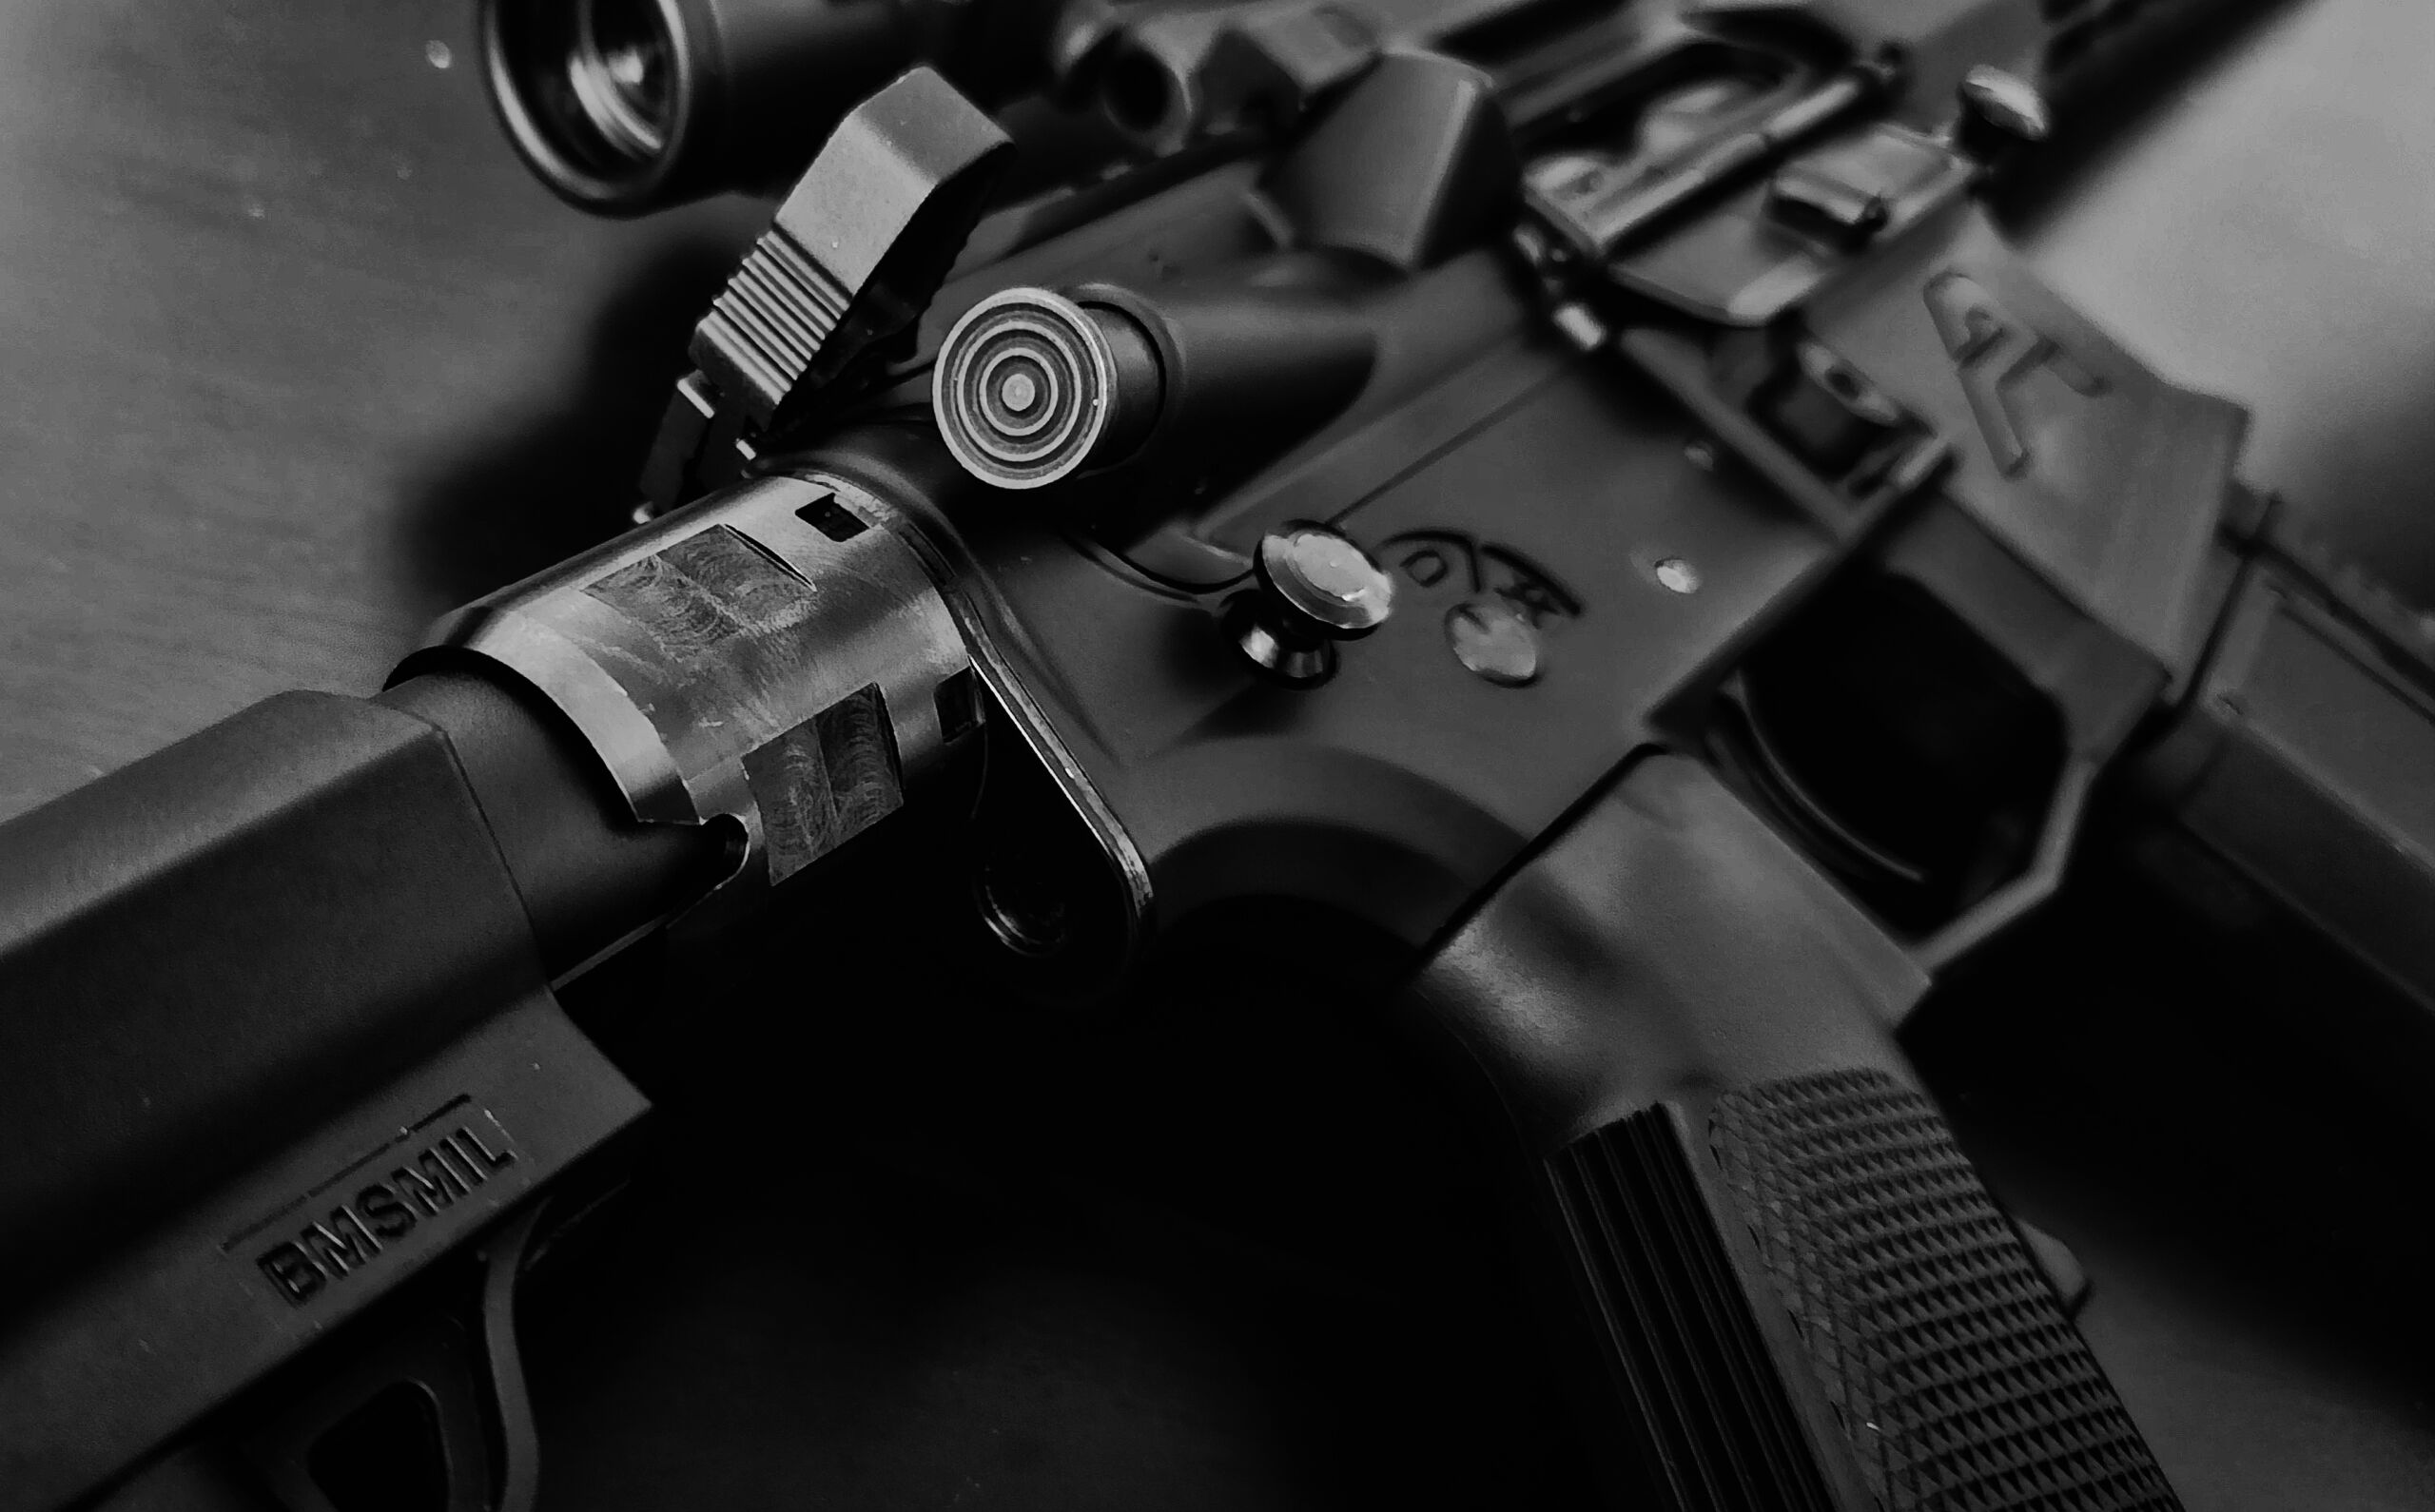
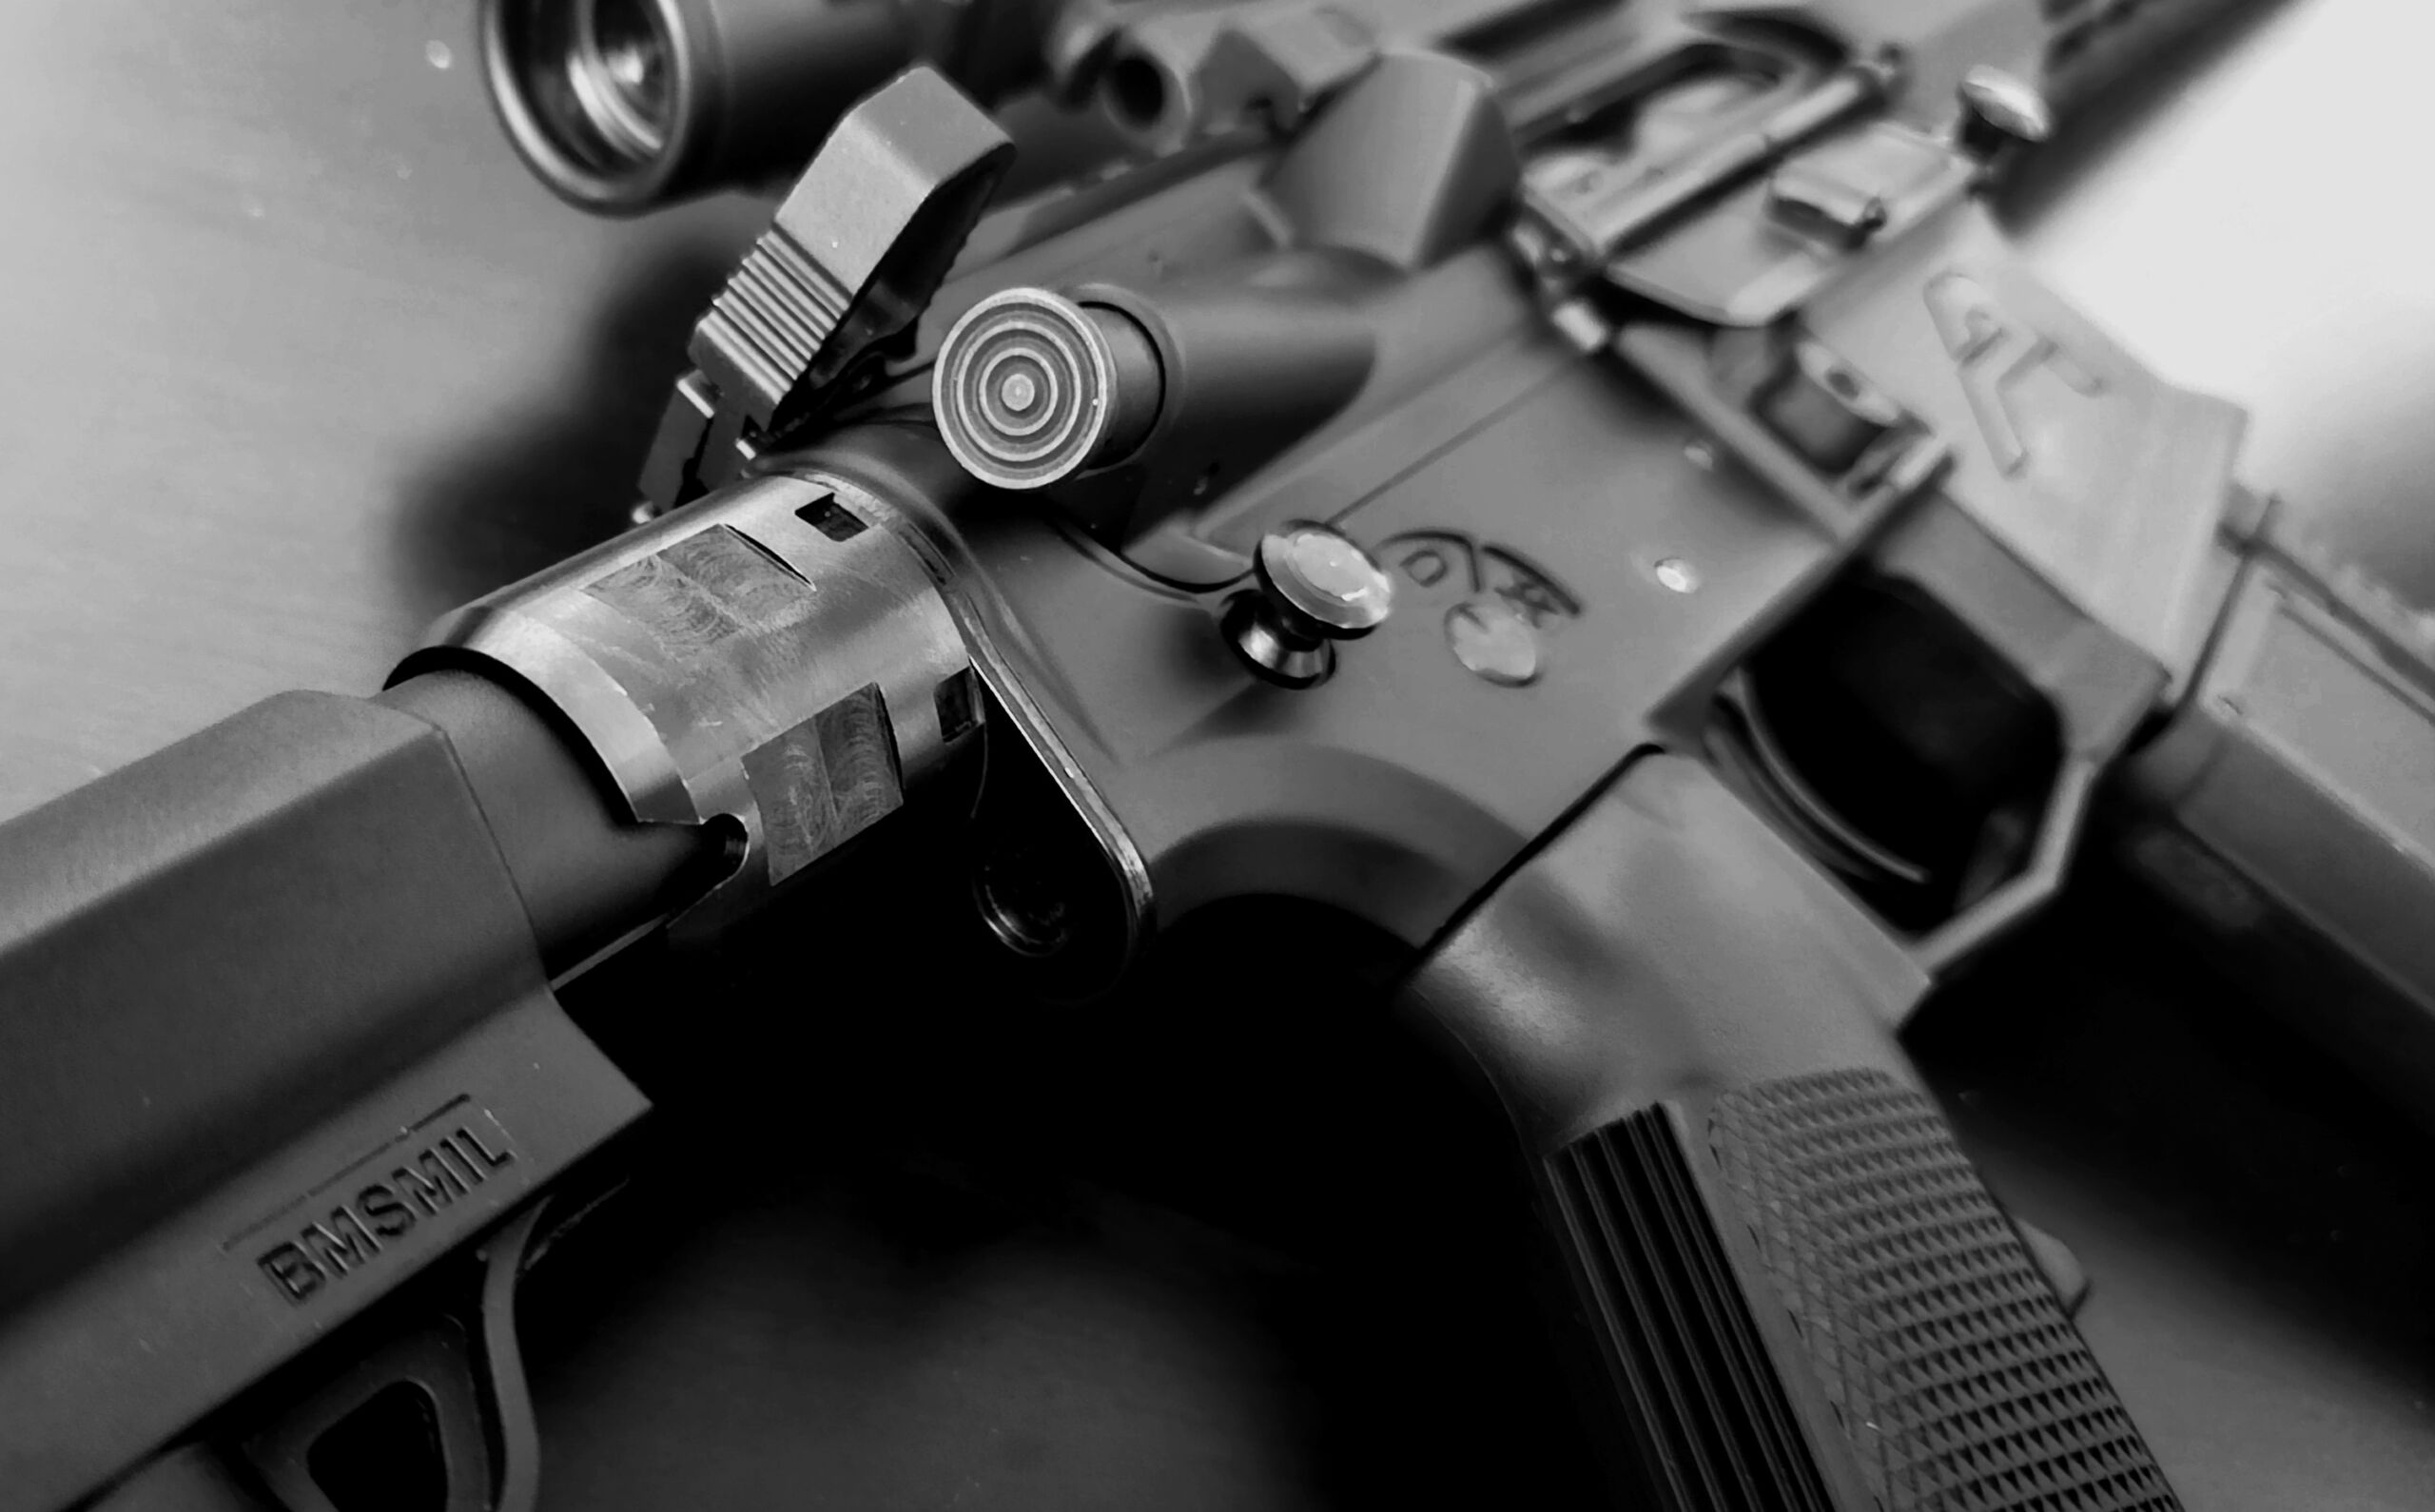
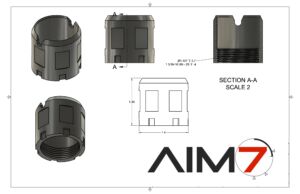
HK 416, MR556 A5 Style Extended Length Castle Nut for mil-spec tube only.
(will not fit Pistol buffer tubes)
Our HK A5 extended buffer tube castle nut will fit both mil-spec. This is the best option for those doing a 416A5 build so it can be a correct build. All Steel 17-4 manufacture. Each castle nut is made to the same specs and materials as the HK 416A5—a rare offering in the USA.
Made from ordnance 17-4 grade steel.
Compatible with:
- AR15/AR308/AR10/AR9 ETC.
- HK MR556, CR556
- HK 416
- HK M27
- HK 416-A5
- Other AR, M4 & other M16 projects
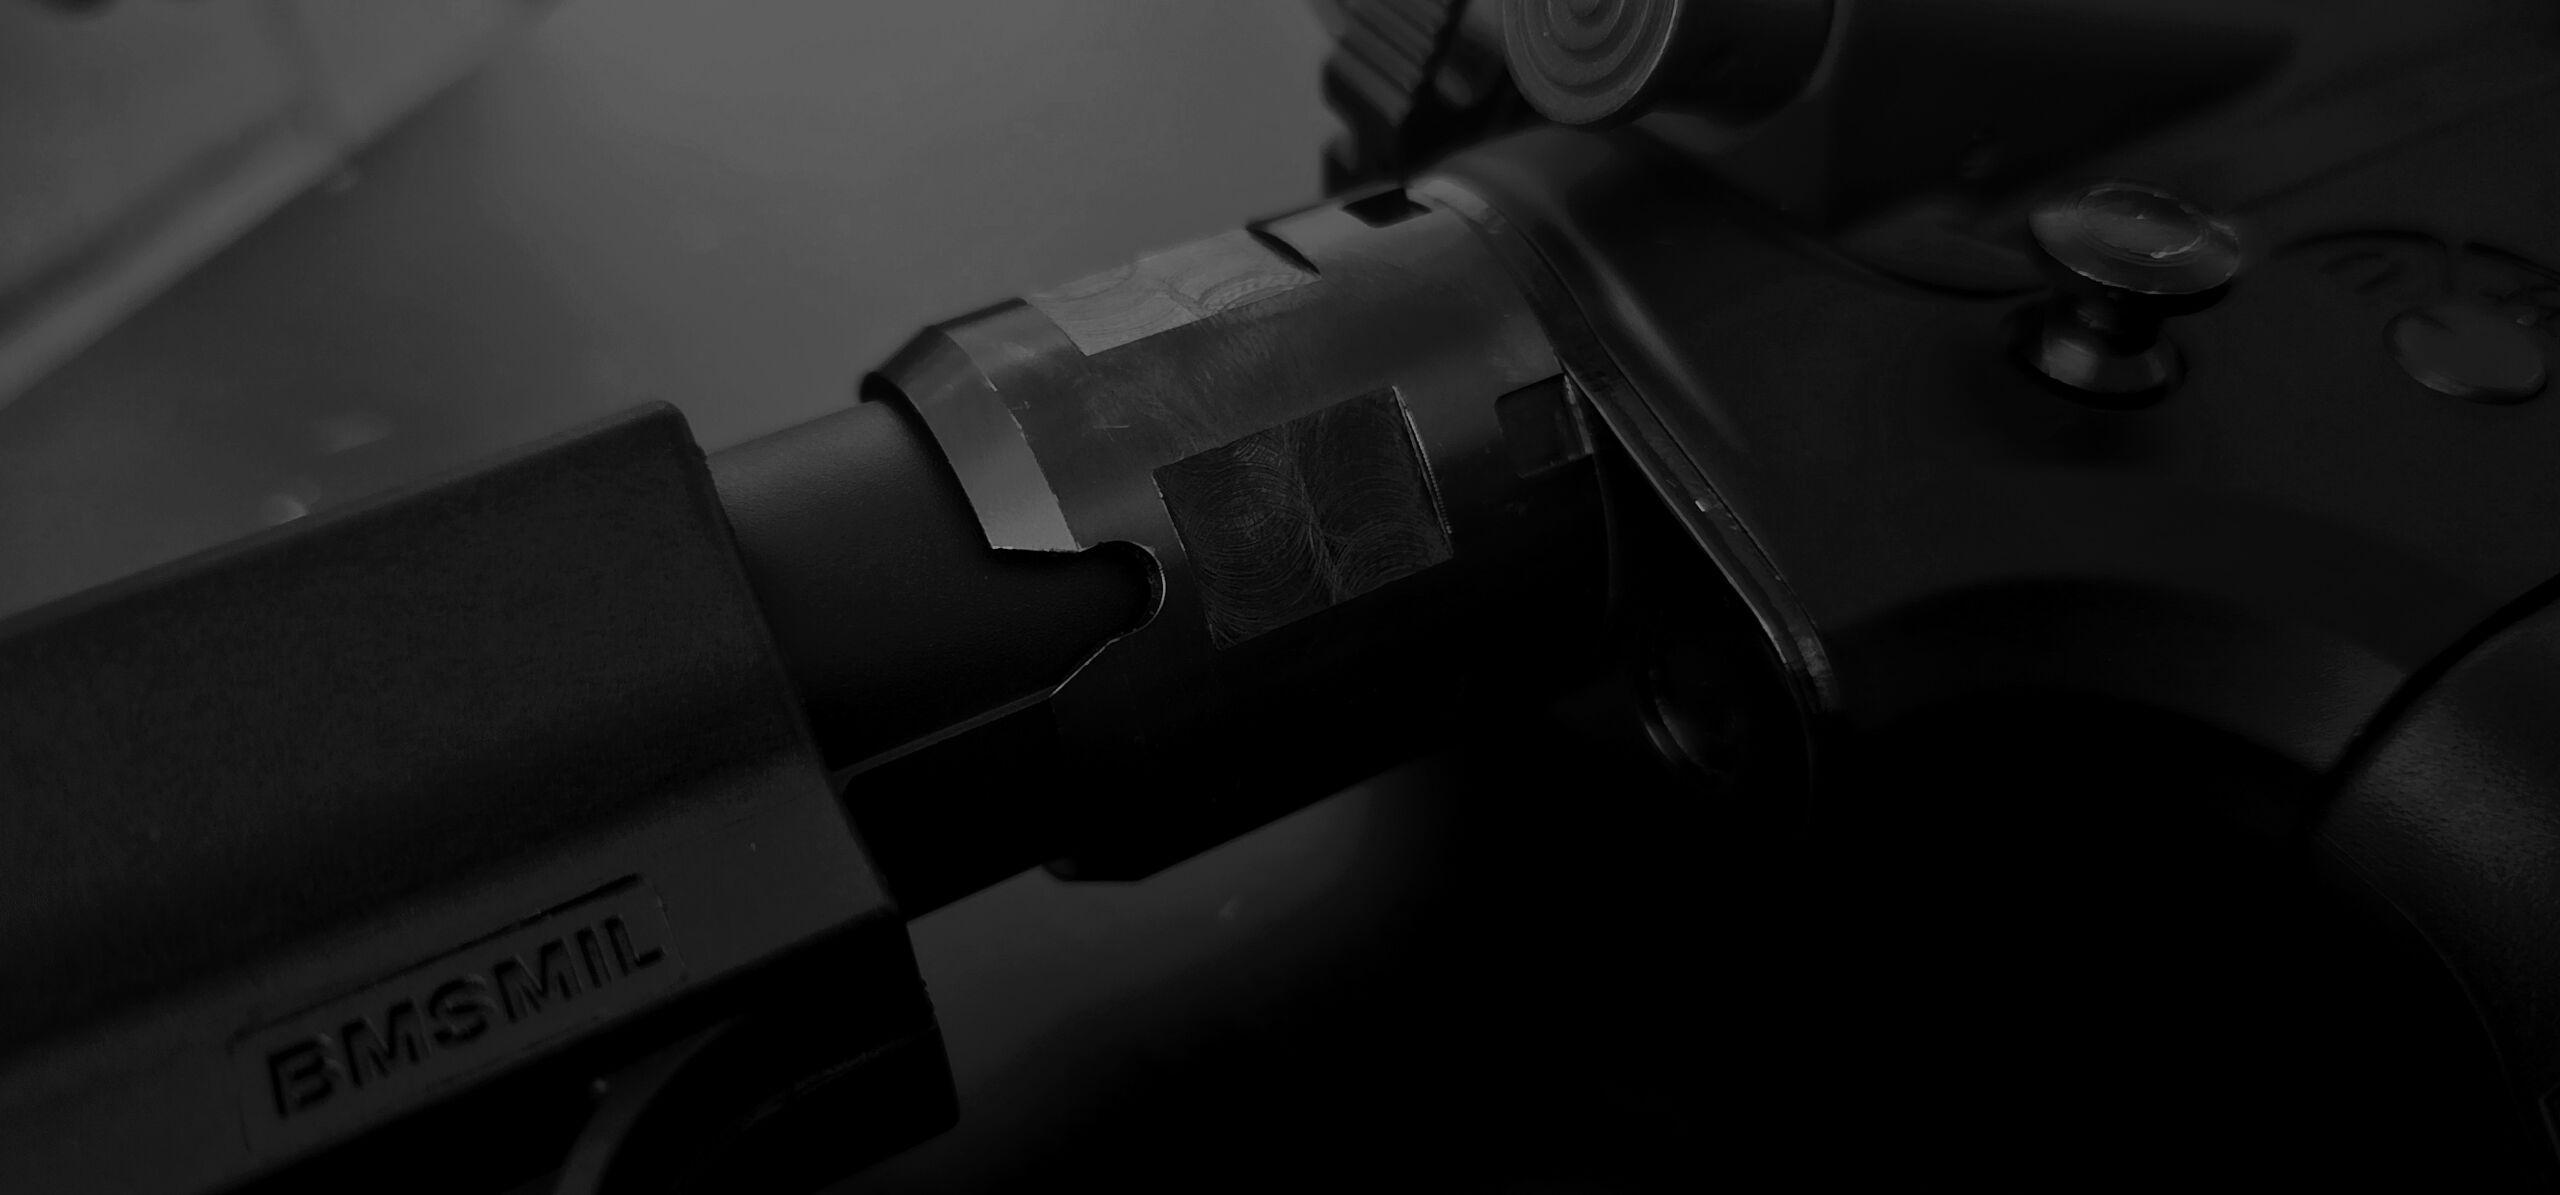
- Securing the Receiver Extension: The castle nut secures the receiver extension (buffer tube) to the rifle’s receiver. It is threaded onto the end of the buffer tube and tightened against the receiver to ensure a secure connection.
- Preventing Rotation: Once properly tightened, the castle nut prevents the receiver extension from rotating or coming loose during the firing or handling of the rifle. This is crucial for maintaining the alignment of the buffer tube and the stock, ensuring proper function and stability.
- Retention of Other Components: In some designs, the castle nut may also retain other components of the buffer tube assembly, such as the end plate or receiver end plate sling adapter.
- Compatibility: The castle nut is designed to work specifically with the receiver extension and other components of the rifle’s buffer tube assembly. It is manufactured to precise specifications to ensure proper fit and function.
- Durability: Like other components of the rifle, the castle nut is made from durable steel, ensuring strength and reliability under the stresses of firing and regular use.
-